Sentiment Analysis App With React

A software engineer who likes to explore new technologies, problem-solving, build projects, and have a keen interest in Web development.
In this digital world where everyone is sharing their thoughts online, it's necessary to know how your content impacts the readers.
The first duty of an editor is to gauge the sentiment of his reader, and then to tell them what they like to believe.
~ Thorstein Veblen
In this article, I'll show you how to create a simple React App for Sentiment Analysis using the react-sentiment package
Prerequisite
- Basic knowledge of React
- Text-editor of your choice
Step 1: Create React App
Create your React App using the command:
npx create-react-app sentiment-analysis-app
This will result in the following folder structure:

Step 2: Install npm package
Install npm sentiment package
npm install sentiment --save
Step 3: Add Input text field
Go to the src/App.js file and replace the existing code with the following:
import React, { useState, useEffect } from 'react';
import './App.css';

function App() {

  const [phrase, setPhrase] = useState('');

  return (
    <div className="App">
      <header className="App-header">
        <h2>Sentiment Analysis</h2>
        <input value={phrase} onChange={e => setPhrase(e.target.value)}
          style={{ padding: '20px', fontSize: '20px', width: '90%' }} />
      </header>
    </div>
  );
}

export default App;
Step 4: Add Sentiment Component
import Sentiment from 'sentiment';
const sentiment = new Sentiment();
Import the 'sentiment' package, which you install earlier into your file.
Now, when the user types anything in the Input text field we need to check the sentiment score.
  const [sentimentScore, setSentimentScore] = useState(null);

useEffect(() => {
    setSentimentScore(sentiment.analyze(phrase));
  }, [phrase]);
In the above code, we have created an initial state of sentiment score and after any change in a phrase, it will update the sentiment score.
Now, display sentiment score using:
{
          sentimentScore ?
          <p>Sentiment Score: {sentimentScore.score}</p>
          : ''
 }
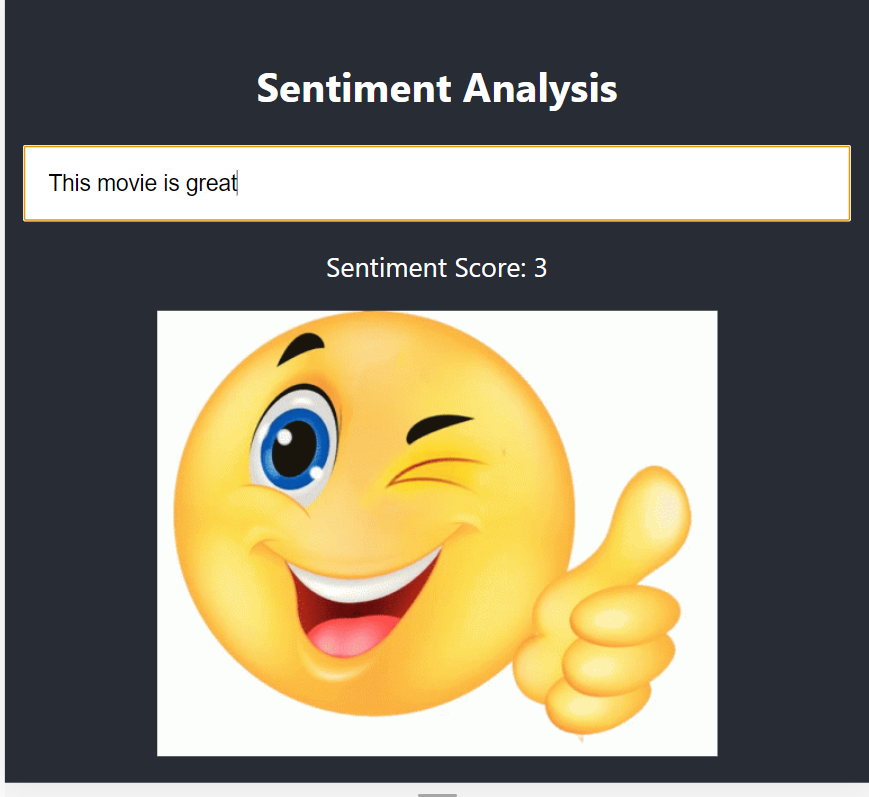
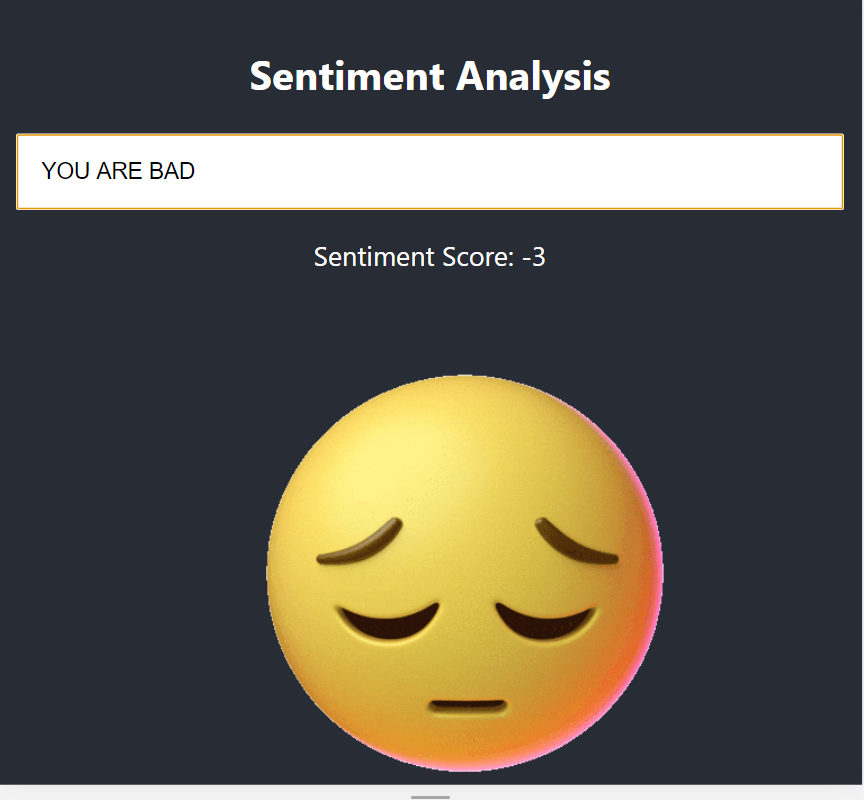
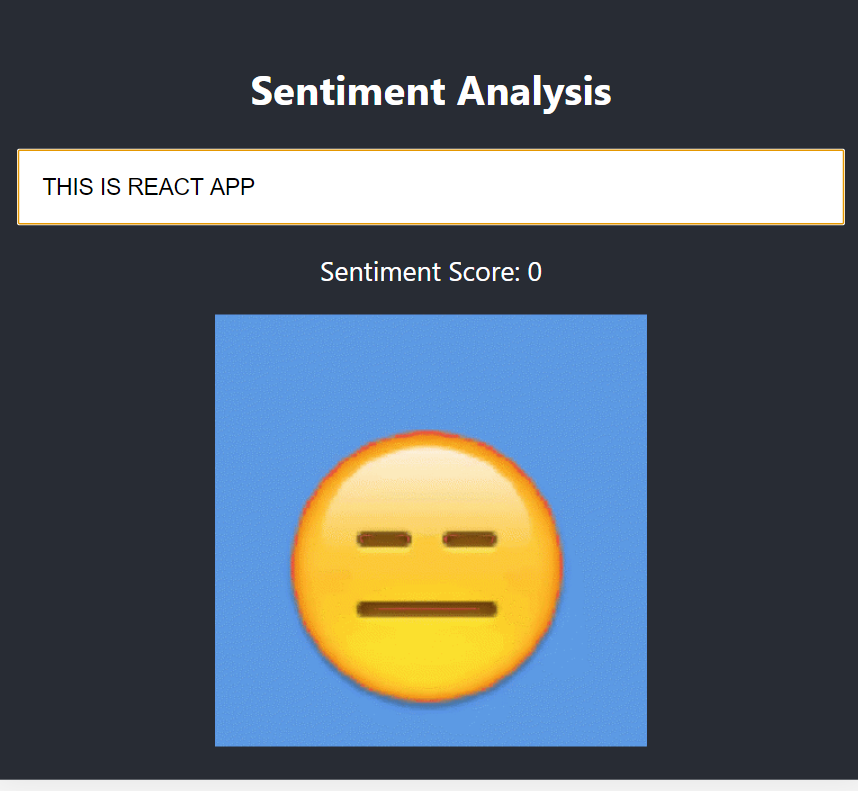
Step 5: Change Images based on Sentiment score
Add the images of your choice inside the src/images folder which represent "happy", "sad" & "neutral" behavior.
Now display the different images based on sentiment score.
{
          sentimentScore ?
            sentimentScore.score === 0 ?
              <img src={neutralGIF} alt="neutral" />
              :
              sentimentScore.score > 0 ?
                <img src={positiveGIF} alt="postive" />
                :
                <img src={negativeGIF} alt="negative" />
            : ''
        }
Final Code
Your final code in src/App.js file will look like this:
import React, { useState, useEffect } from 'react';
import './App.css';
import positiveGIF from './images/positive.gif';
import negativeGIF from './images/negative.gif';
import neutralGIF from './images/neutral.gif';

import Sentiment from 'sentiment';
const sentiment = new Sentiment();

function App() {

  const [phrase, setPhrase] = useState('');
  const [sentimentScore, setSentimentScore] = useState(null);

  useEffect(() => {
    setSentimentScore(sentiment.analyze(phrase));
  }, [phrase]);

  return (
    <div className="App">
      <header className="App-header">
        <h2>Sentiment Analysis</h2>

        <input value={phrase} onChange={e => setPhrase(e.target.value)}
          style={{ padding: '20px', fontSize: '20px', width: '90%' }}
        />

        {
          sentimentScore !== null ?
            <p>Sentiment Score: {sentimentScore.score}</p>
            : ''
        }

        {
          sentimentScore ?
            sentimentScore.score === 0 ?
              <img src={neutralGIF} alt="neutral" />
              :
              sentimentScore.score > 0 ?
                <img src={positiveGIF} alt="postive" />
                :
                <img src={negativeGIF} alt="negative" />
            : ''
        }

      </header>
    </div>
  );
}

export default App;
Demo
Wrap Up
Thank you for reading. I hope you enjoyed reading it. Please share it with your network. Don’t forget to leave your comments below.


