Kubernetes - With Mongo & Express App
Deploy Express Application using Kubernetes

A software engineer who likes to explore new technologies, problem-solving, build projects, and have a keen interest in Web development.
In this article, we'll see how kubernetes work in practice and will create a demo application using MongoDB and Express.
🎯 Minikube
Open source tool
One node kubernetes cluster that runs in a virtual box.
One node cluster where the master and worker processes both run on one node
It has docker container runtime pre-installed.
It runs on your machine using a virtual box or some other hypervisor. So minikube will create a virtual box on your laptop and the node will run inside that virtual box.
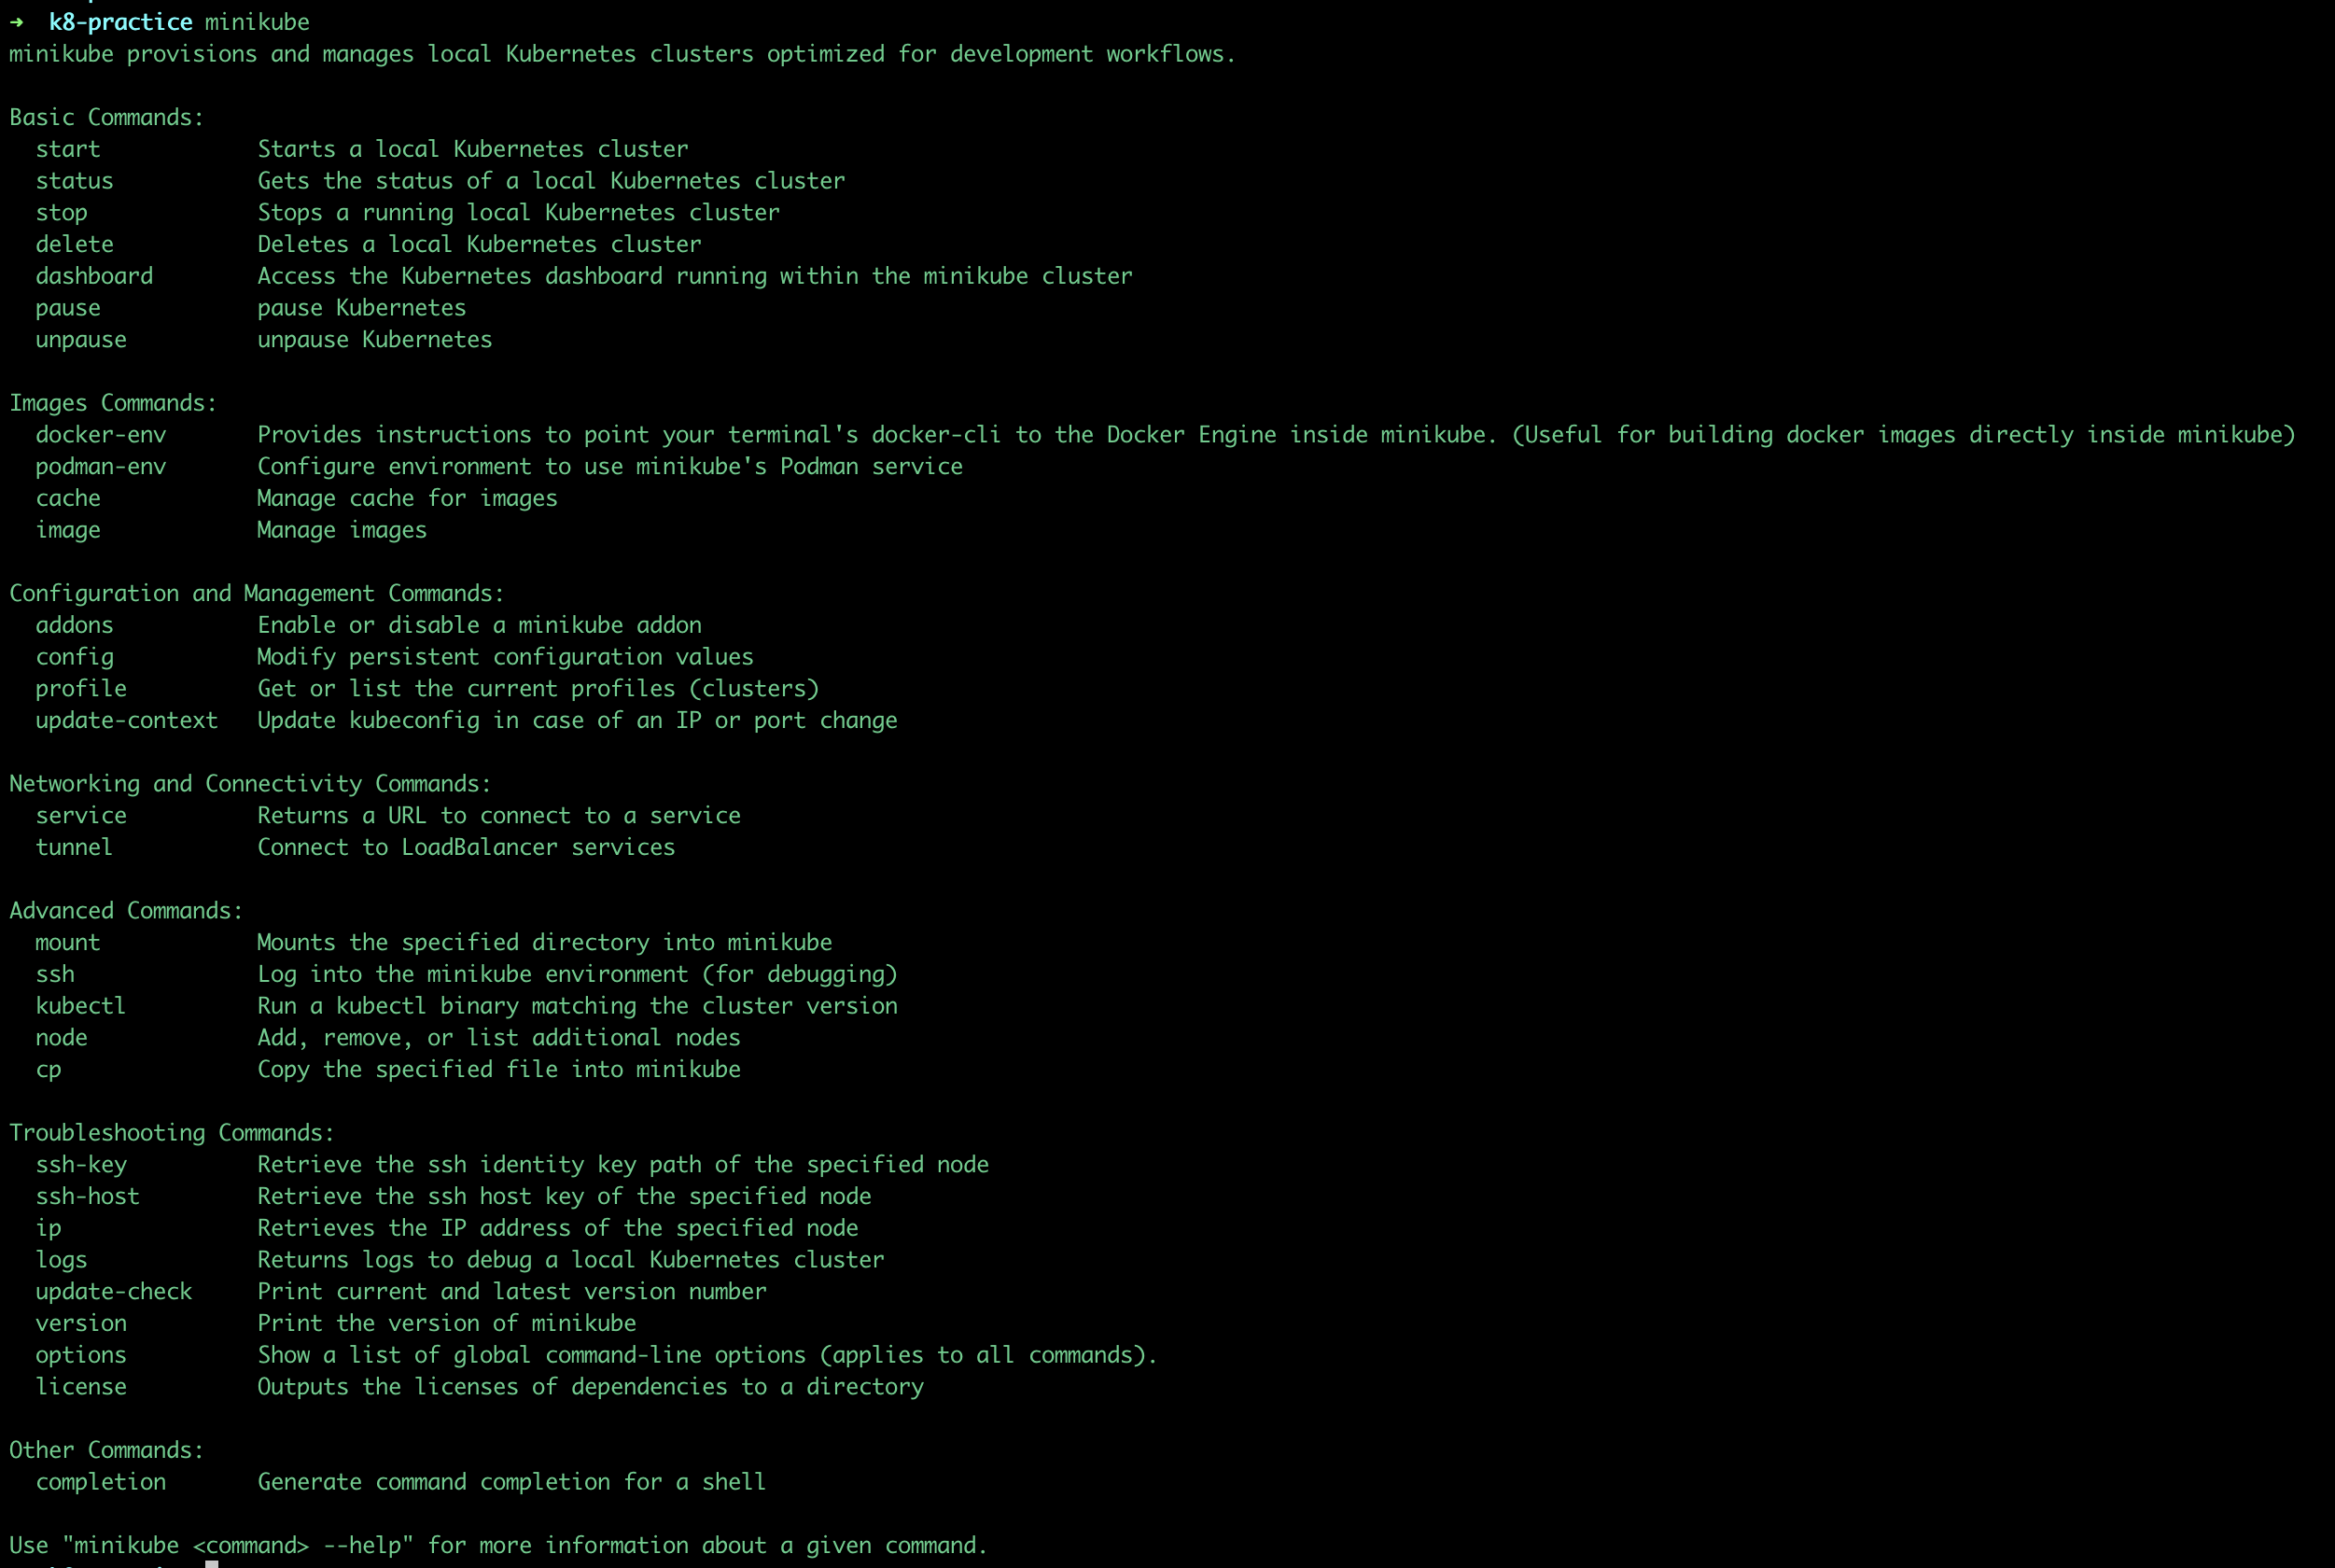
🎯 Kubectl
It provides a way to interact with the cluster, to create a pod or another K8s component.
kubectl is a command line tool for the K8s cluster.
🎯 Local Setup
🧩 1. Install hypervisor
Minikube needs virtualization or hypervisor so first install it.
brew install hyperkit
🧩 2. Install Minikube
brew install minikube
minikube has kubectl as a dependency, so the above command will install kubectl as well.
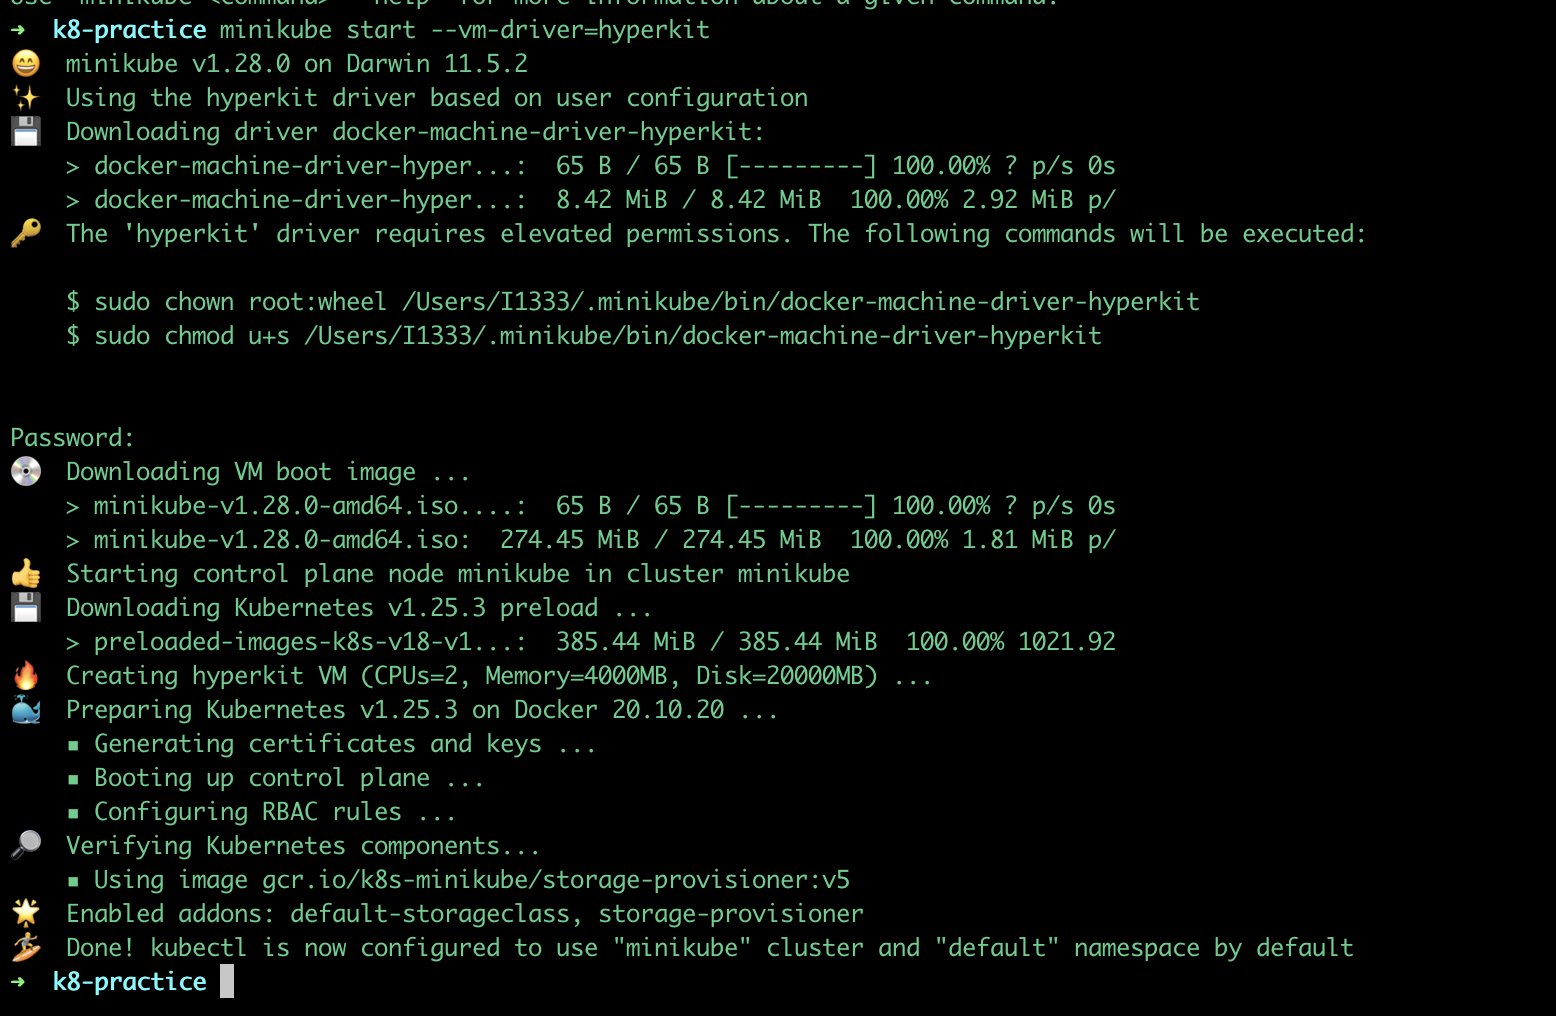
🧩 3. Create and start Cluster
Use the following command to start a K8s cluster
minikube start --vm-driver=hyperkit
Minikube needs to be run inside a virtual box so we need to tell Minikube which hypervisor it should use to start the cluster. Therefore in the start command, we mention the hyperkit hypervisor.
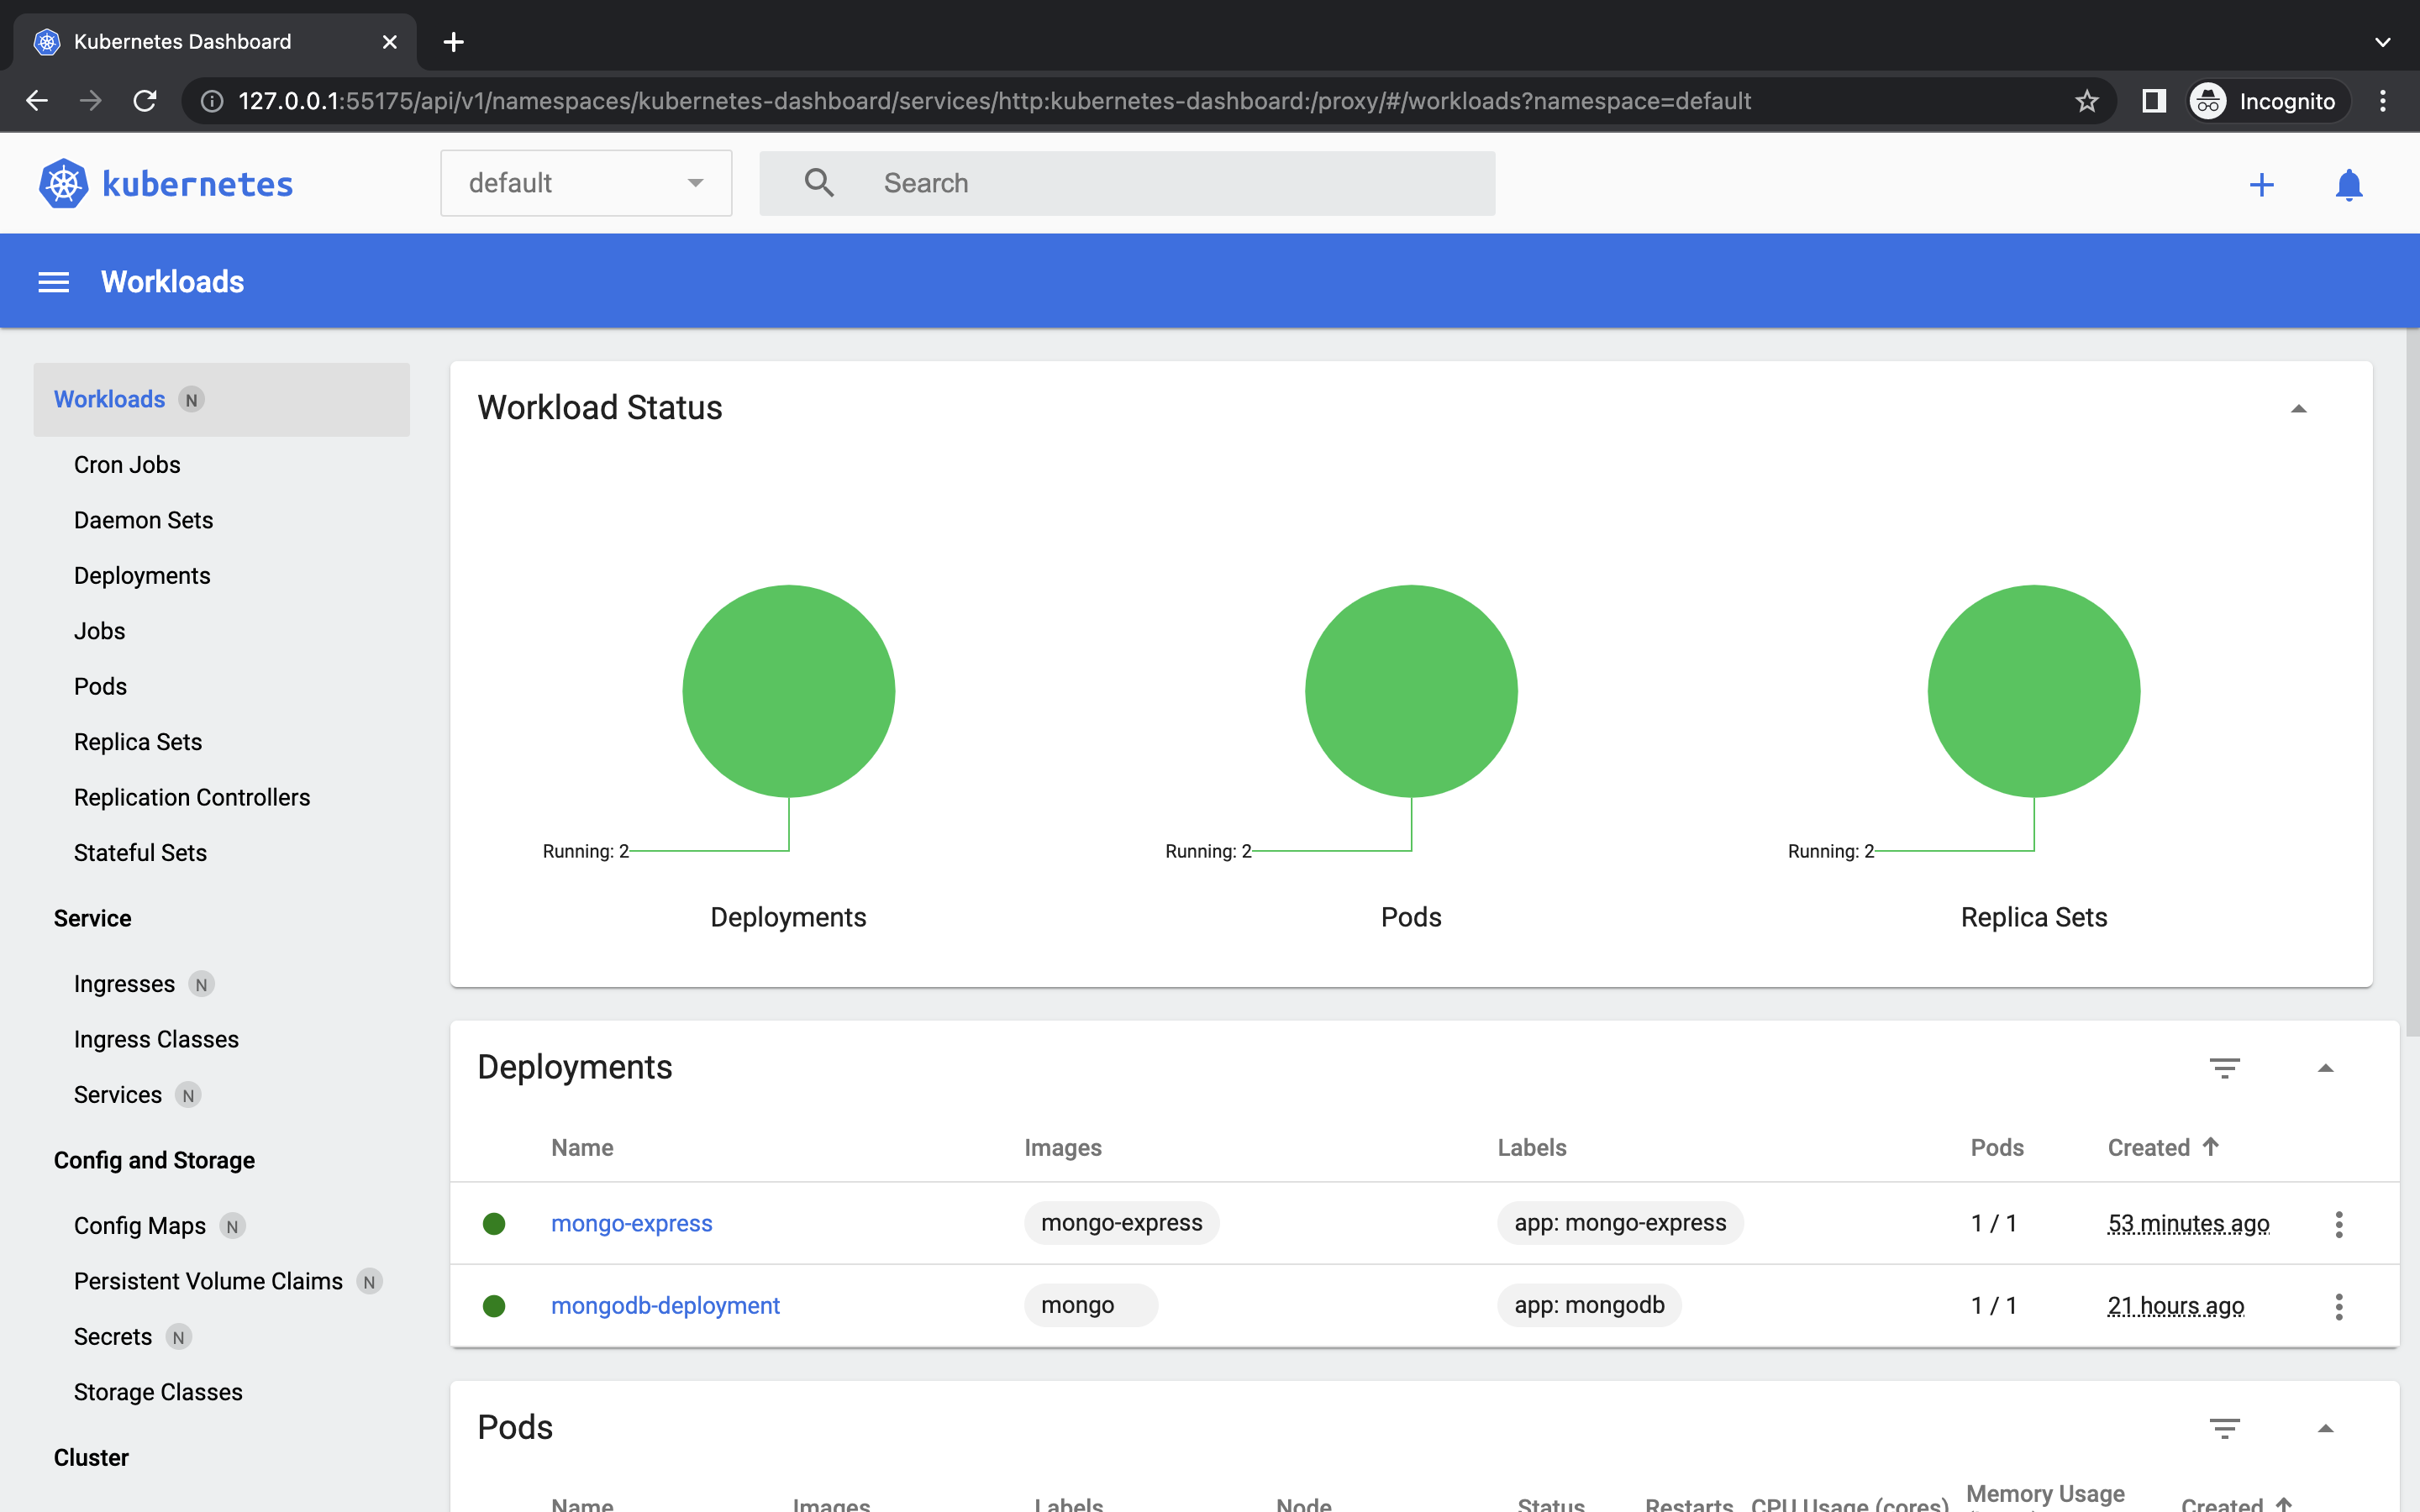
🧩 4. Minikube Dashboard
Use the following command to open the minikube dashboard UI in the browser
minikube dashboard
🎯 YAML Configuration File
Every configuration file in K8s has 3 parts:
Metadata: The first part contains information about the metadata of that component
There is one key called kind mentioned in the configuration file which defines what K8s component we are targeting.
Status: It will be automatically generated and added by the K8s.
Specification: where we put every kind of configuration that we want to apply for that component. Attributes of "spec" are specific to the kind of component that we are creating.

Inside Specification, there is another section called Template.
Template
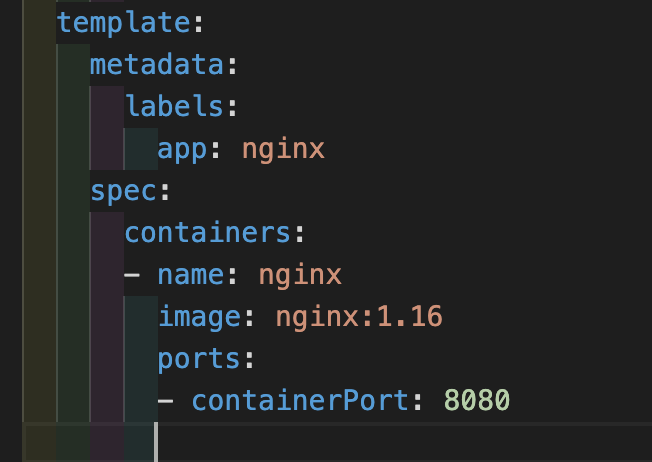
It has its own "metadata" and "spec" section.
The configuration mentioned inside the template is applied to a pod
Template specification specifies which image needs to be used, on which port it should run and its name.
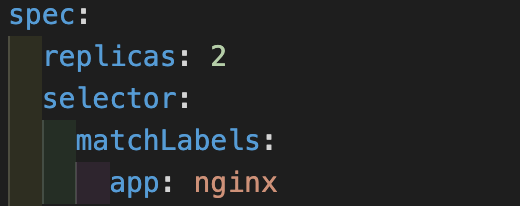
The labels & Selectors
metadata part contains the label and the specification part contains the selectors.
In metadata, we give component labels in key-value pairs.

This label is matched by the selector to create a connection. So this way deployment will know which pods belong to it.
🎯 Demo Project
Now that we have enough understanding of the K8s concept, let's deep dive to create a demo project to get a more clear picture.
We will create a demo express application and connect it with the MongoDB database and will see step by step guide on how each K8s component comes into the picture.
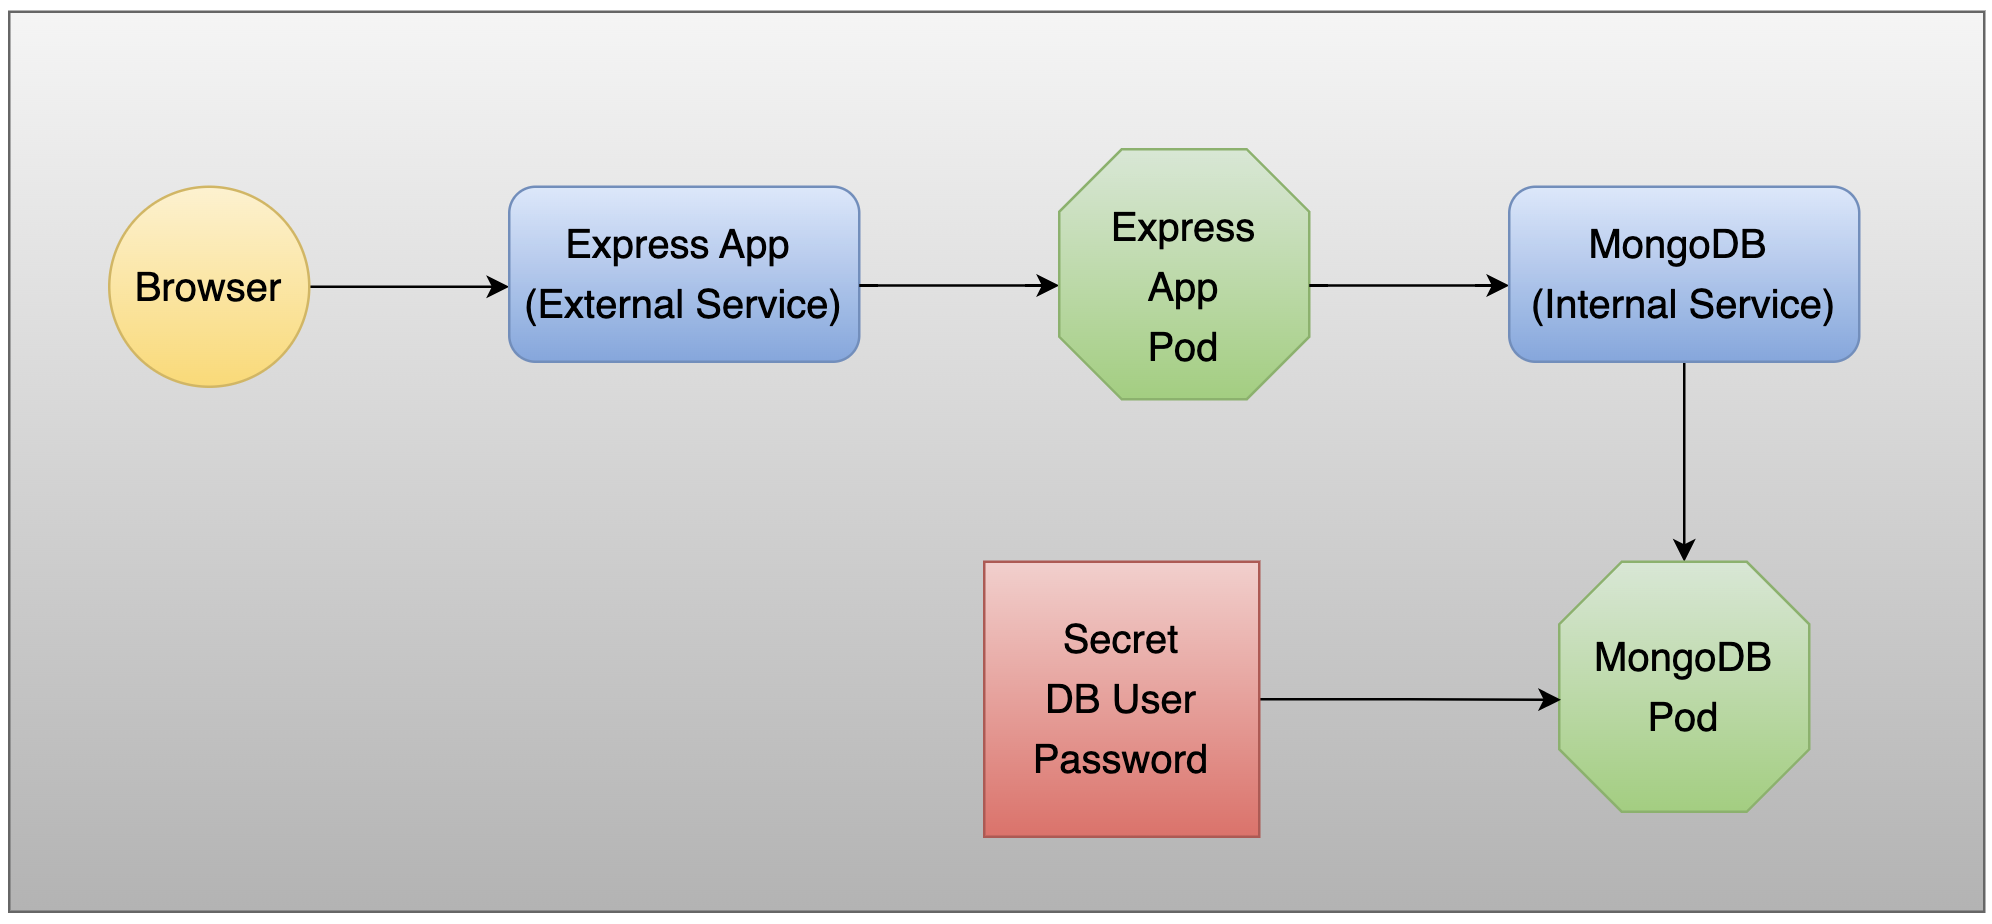
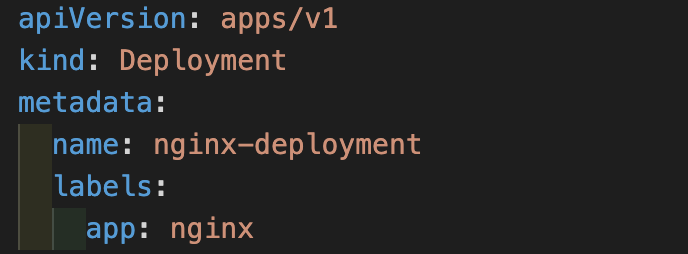
🔍 Step 1: Create a MongoDB Deployment
In K8s we do not directly work with the Pods but there is an abstraction layer over a Pod called Deployment with which we will directly work.
In mongo-deployment.yaml file:
apiVersion: apps/v1
kind: Deployment
metadata:
  name: mongodb-deployment
  labels:
    app: mongodb
spec:
  replicas: 1
  selector:
    matchLabels:
      app: mongodb
  template:
    metadata:
      labels:
        app: mongodb
    spec:
      containers:
      - name: mongodb
        image: mongo
        ports:
        - containerPort: 27017
        env:
        - name: MONGO_INITDB_ROOT_USERNAME
          valueFrom:
            secretKeyRef:
              name: mongodb-secret
              key: mongo-root-username
        - name: MONGO_INITDB_ROOT_PASSWORD
          valueFrom:
            secretKeyRef:
              name: mongodb-secret
              key: mongo-root-password
In the image, we have specified "mongo", so it will fetch the latest mongo image from the docker hub.
These require 2 env. variables called
MONGO_INITDB_ROOT_USERNAME&MONGO_INITDB_ROOT_PASSWORD. To get these values we will create a Secret from where we will reference that value.secretKeyRef.name: specifies the name of the secret (which we have defined in Step 2)secretKeyRef.key: specifies the key name which we have declared under the data section in Step 2.Please note: Secret must be created before the deployment because this deployment step has dependency over the Secret step.
Create a deployment using the following command:
kubectl apply -f mongo-deployment.yaml
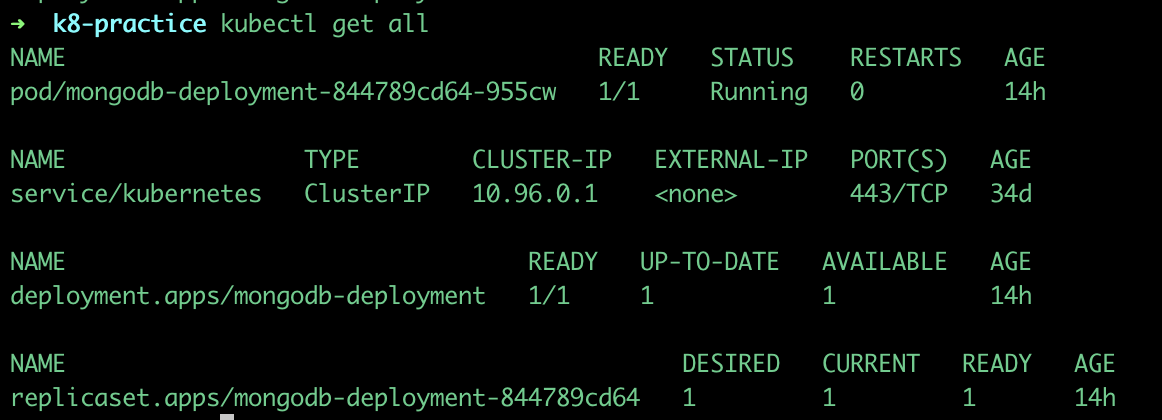
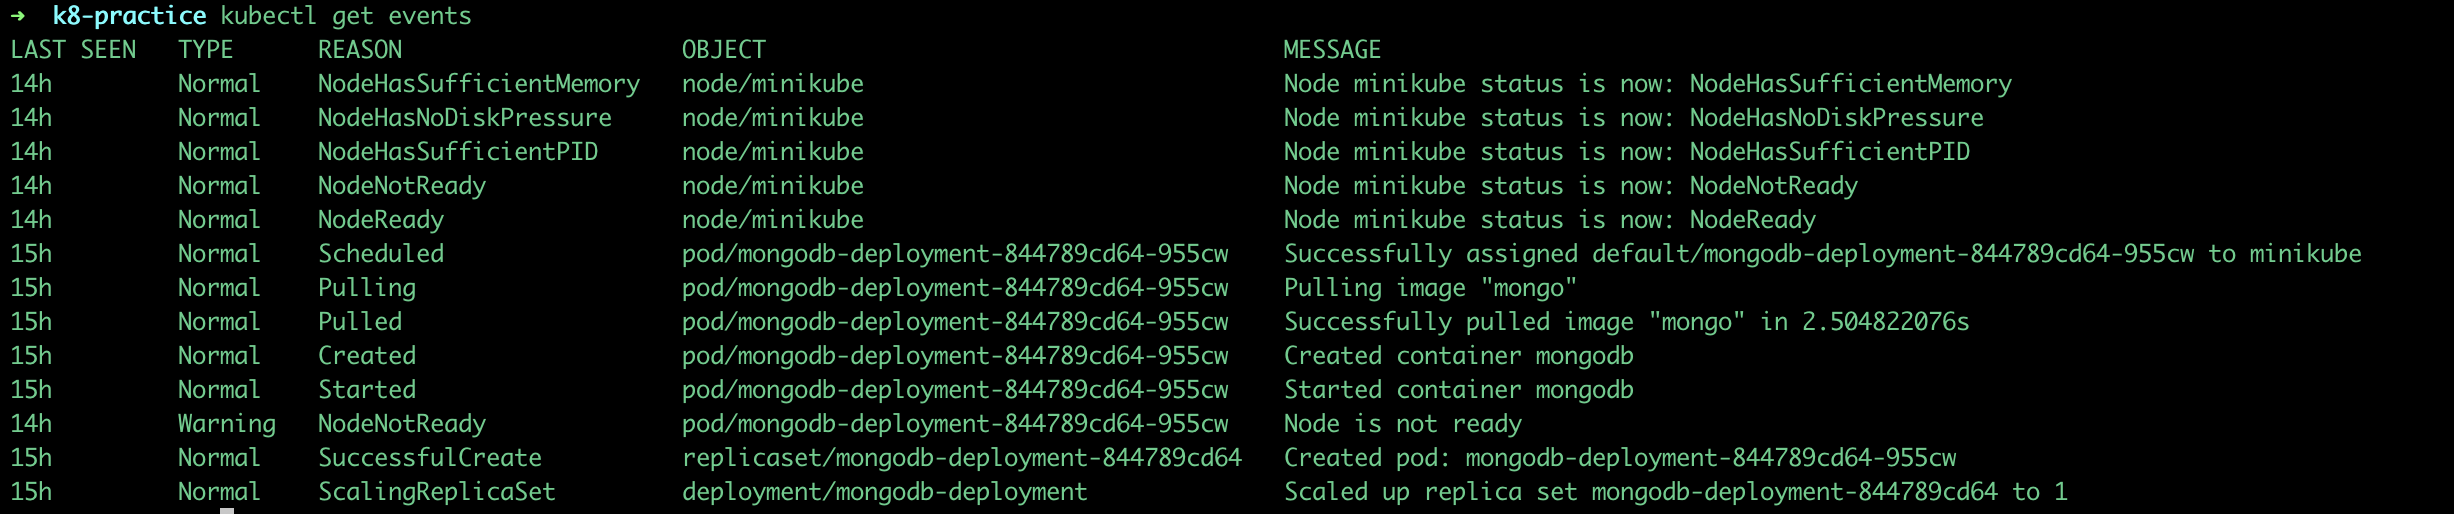
Use the following command to get all the K8s components:
kubectl get all
kubectl get events
🔍 Step 2: Create Secrets
We need credentials (username or password) to connect to the database.
So we're going to create a Secret that contains the credentials.
In mongo-secret.yaml file:
apiVersion: v1
kind: Secret
metadata:
    name: mongodb-secret
type: Opaque
data:
    mongo-root-username: dXNlcm5hbWU=
    mongo-root-password: cGFzc3dvcmQ=
Values inside the data are not plain text this should be encrypted in some way. Storing the data in a Secret component doesn't automatically make it secure.
We can easily generate the base64 encoded for any plain text using the following command:
  echo -n 'plain text' | base64

  // Output: cGxhaW4gdGV4dA==
Secret must be created before the deployment. So let's first create a Secret component using the following command:
kubectl apply -f mongo-secret.yaml

To get the list of all secrets created:
kubectl get secret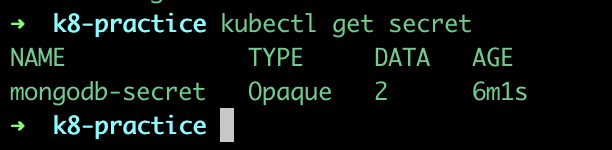
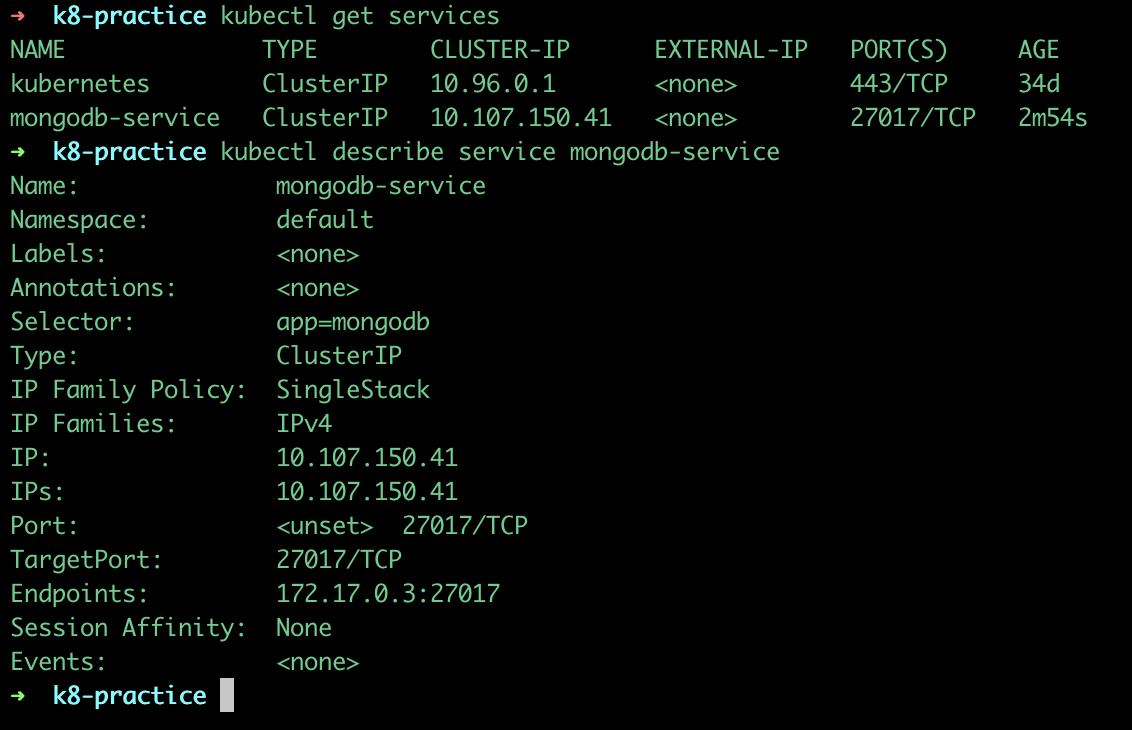
🔍 Step 3: Create an Internal service for MongoDB
First, we created a MongoDB pod and to talk to that pod we will need an internal service, which means no external request to that pod is allowed. Only components inside the same cluster can talk to it.
In mongo-service.yaml file:
apiVersion: v1
kind: Service
metadata:
  name: mongodb-service
spec:
  selector:
    app: mongodb
  ports:
    - protocol: TCP
      port: 27017
      targetPort: 27017
app: mongodbthis name should be the same as the label name given in Step 1 to connect to the pod through a label.port: service porttargetPort: containerPort of deploymentkubectl apply -f mongo-service.yaml
🔍 Step 4: Create an Express deployment
In express-deployment.yaml file:
apiVersion: apps/v1
kind: Deployment
metadata:
  name: mongo-express
  labels:
    app: mongo-express
spec:
  replicas: 1
  selector:
    matchLabels:
      app: mongo-express
  template:
    metadata:
      labels:
        app: mongo-express
    spec:
      containers:
      - name: mongo-express
        image: mongo-express
        ports:
        - containerPort: 8081
        env:
        - name: ME_CONFIG_MONGODB_ADMINUSERNAME
          valueFrom:
            secretKeyRef:
              name: mongodb-secret
              key: mongo-root-username
        - name: ME_CONFIG_MONGODB_ADMINPASSWORD
          valueFrom:
            secretKeyRef:
              name: mongodb-secret
              key: mongo-root-password
        - name: ME_CONFIG_MONGODB_SERVER
          valueFrom:
            configMapKeyRef:
              name: mongodb-configmap
              key: database_url
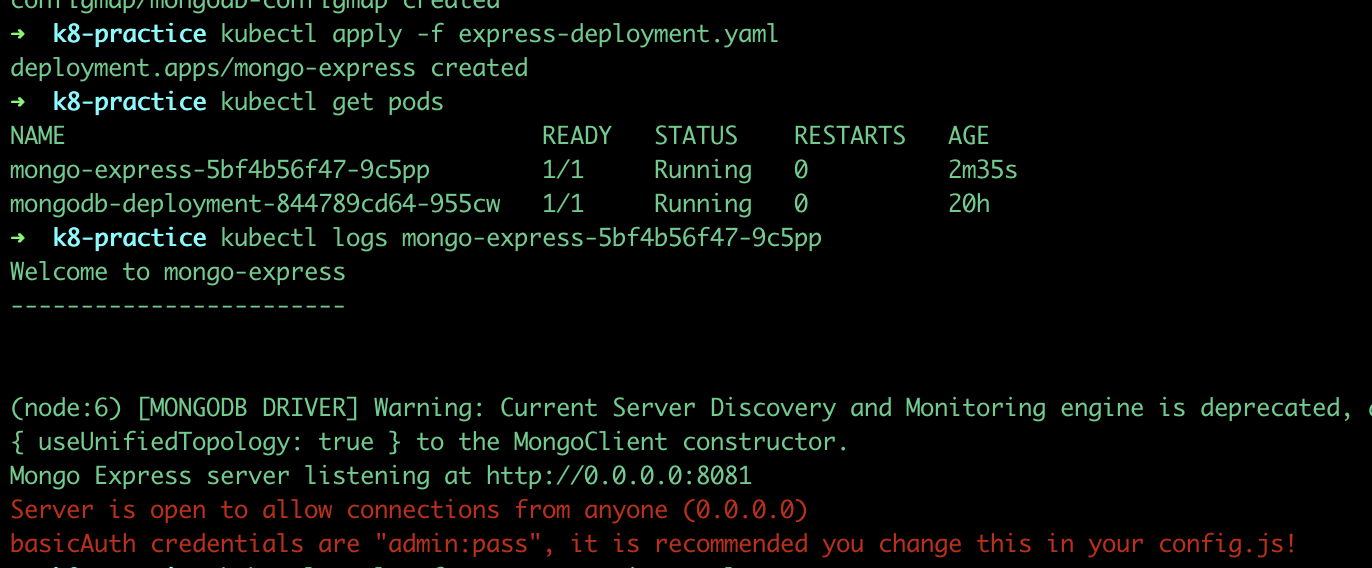
In the image, we have specified "mongo-express", so it will fetch the latest mongo-express image from the docker hub.
This image will require a database name to connect for which we will require a MongoDB address or internal service. We will specify the database URL inside config map in Step 5.
Next, we need credentials for authentication
ME_CONFIG_MONGODB_ADMINUSERNAME&ME_CONFIG_MONGODB_ADMINPASSWORD. These are same secrets which we have created in Step 2.kubectl apply -f express-deployment.yaml
🔍 Step 5: Create Config Map for Express App
First, we will need the database URL of MongoDB, so that our express app can connect to the database.
In Config Map, we'll specify all the centralised & external configuration.
So we will create Config Map that contains the database URL.
In express-configmap.yaml file:
apiVersion: v1
kind: ConfigMap
metadata:
  name: mongodb-configmap
data:
  database_url: mongodb-service
database_url: it is MongoDB internal service name which we have specify in Step 3 above.ConfigMap must already be in the cluster when referencing it in previous step.
kubectl apply -f express-configmap.yaml
🔍 Step 6: Create an External Service for Express App
We need an external service so that it can be accessed through a browser.
In express-service.yaml file:
apiVersion: v1
kind: Service
metadata:
  name: mongo-express-service
spec:
  selector:
    app: mongo-express
  type: LoadBalancer
  ports:
    - protocol: TCP
      port: 8081
      targetPort: 8081
      nodePort: 30000
We have exposed a service port at 8081.
TargetPort is where the container port is listening.
To make it external service:
add
type: LoadBalancerdefine
nodePortwhere the external IP address is open. This nodePort actually has a range between 30000 - 32767.kubectl apply -f express-service.yamlkubectl get services
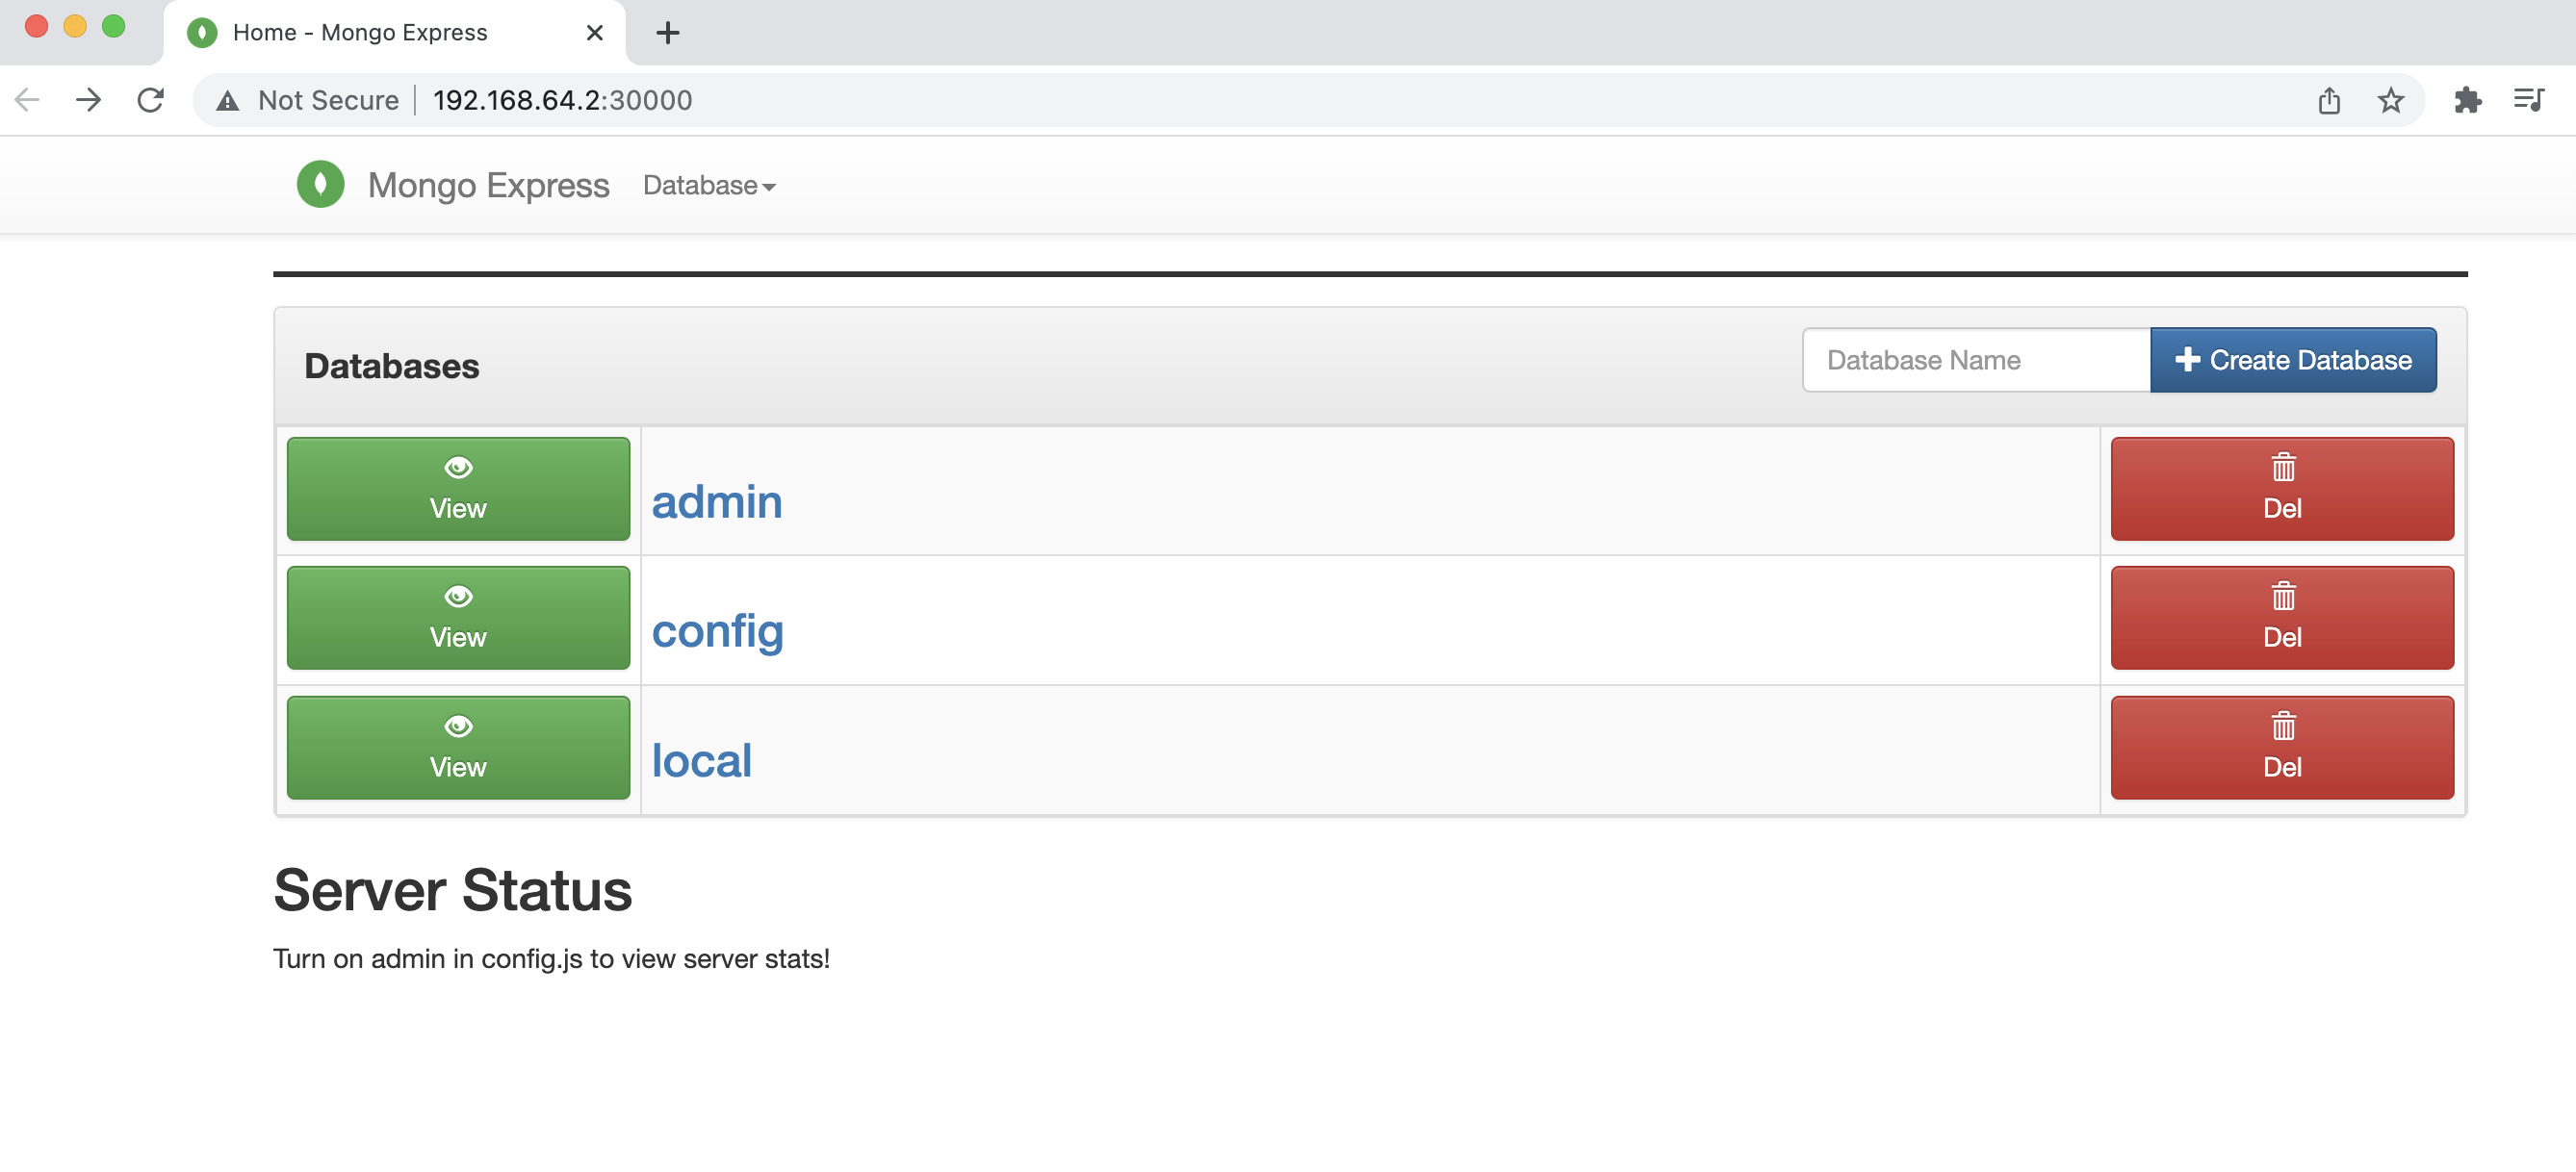
minikube service mongo-express-service- This command will assign public IP address to an external service

🎯 Kubectl Basic Commands
✏️ Get Status of K8s Components
kubectl get nodes: get the status of nodes

kubectl version: get the latest versionkubectl get services: get a list of all services
✏️ Debugging Pods
kubectl logs [POD_NAME]: shows what the application inside the pod logs.kubectl describe pod [POD_NAME]: shows additional information about pods and all the state changes that happen inside the pod.kubectl exec -it [POD_NAME] -- bin/bash: start a shell session for containers running in a K8s cluster. It’s a bit like SSH for Kubernetes.✏️ CRUD Operations
kubectl create deployment [DEPLOYMENT_NAME]: to create a deploymentkubectl get deployments: to get a list of all deploymentskubectl edit deployment [DEPLOYMENT_NAME]: to update the deploymentkubectl delete deployment [DEPLOYMENT_NAME]: to delete deployment✏️ Resource Metrics
kubectl top pod: Display resource (CPU/memory) usage of podskubectl top node: Display resource (CPU/memory) usage of nodes🎯 Wrap Up!!
That's all for this article. Thank you for your time!! Let's connect to learn and grow together.


